Create an Event
An Event refers to an in-person experience or a special occasion that Members can attend, such as store openings, product launches, classes, community gatherings, or concerts.
The Events screen provides two different views of your existing Events: List View and Calendar View. The platform allows you to create an Event from either view.
Create an Event in List View
List View provides a simple listing of the Events defined in your Loyalty account, similar to most other screens in the platform.
To create a new Event while in List View:
-
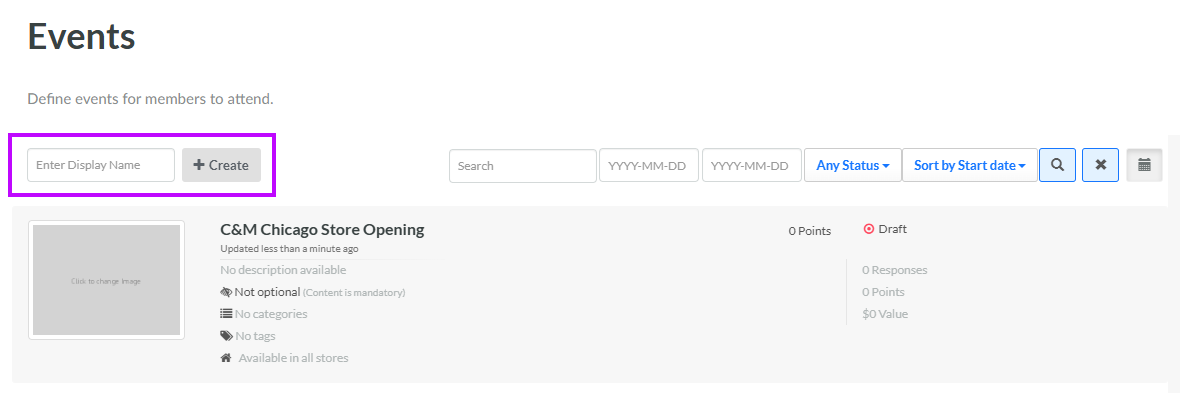
Select Communities from the top navigation bar, then select Communities > Events from the side navigation menu. The Events screen is displayed. By default, List View is selected.
-
In the Display Name field, enter the name of the new Event.
-
Click Create. The Edit Event pop-up window is displayed.
-
The Label field is populated with the value you entered above; optionally edit this value.
-
The Internal Name is automatically populated based on the Display Name value. This field is not editable by default. To edit the Internal Name, check Edit Internal Name. A confirmation dialog box is displayed; click Ok. Edit the Internal Name value.
-
Optionally, in the Description field, enter a description of this item.
-
Optionally, you can define a reward in Metrics for Members who attend this Event. Next to Prize Amount, enter the Metric value, then from the drop-down menu, select the desired Metric.
-
Optionally, to assign a thumbnail image to this item, click Choose File. Browse to and select the desired image file, then click Open.
-
Optionally, from the Categories drop-down menu, select the desired Event Category. Repeat this step as needed to assign the Event to multiple Categories. For more information, see Getting Started with Event Categories.
-
Tags are used to help organize objects within the platform. Events can be searched by Tag from the Events screen. To reuse an existing Tag, begin typing all or part of the Tag name, and select it. You can also type in a new Tag value.
-
Optionally, click into the Stores field, and select a Store Tag for which this Event applies. Repeat this step as needed to add other Store Tags. Note that this field is available only if the Local Store Marketing feature is enabled in your account.
-
Optionally, toggle Optional to On to enable retailers to opt-in or opt-out of this Event. Note that this check box is available only if the Local Store Marketing feature is enabled in your account.
-
Click Save.
Create an Event in Calendar View
Calendar View provides a monthly, weekly, or daily snapshot of all the Events defined in your Loyalty account.
To create a new Event while in Calendar View:
-
Select Communities from the top navigation bar, then select Communities > Events from the side navigation menu. The Events screen is displayed. By default, List View is selected.
-
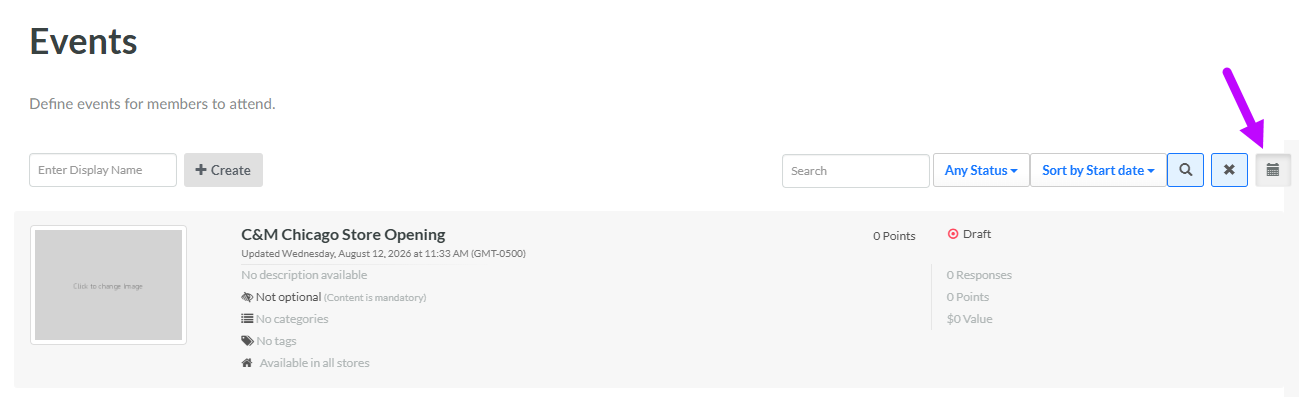
Click Calendar View. The platform defaults to a monthly view. For each day in the current month, the platform lists any Events scheduled for that day.
-
Optionally, click Week or Day to toggle to a weekly or daily view.
-
Optionally, use the left-arrow or right-arrow buttons to navigate to the previous or next month / week / day. Click Today to return to the current month / week / day.
-
Depending on the selected view, click the following:
-
If in Monthly view, click a day.
-
If in Weekly view, click a day / time.
-
If in Daily view, click a time.
-
-
The New Event pop-up window is displayed. The When field is automatically populated with the date (and optionally also the time) based on what you clicked in the previous step.
-
In the Display Name field, enter the name of the new Event.
-
Click Create. The Edit Event pop-up window is displayed.
-
The Label field is populated with the value you entered above; optionally edit this value.
-
The Internal Name is automatically populated based on the Display Name value. This field is not editable by default. To edit the Internal Name, check Edit Internal Name. A confirmation dialog box is displayed; click Ok. Edit the Internal Name value.
-
Optionally, in the Description field, enter a description of this item.
-
Optionally, you can define a reward in Metrics for Members who attend this Event. Next to Prize Amount, enter the Metric value, then from the drop-down menu, select the desired Metric.
-
Optionally, to assign a thumbnail image to this item, click Choose File. Browse to and select the desired image file, then click Open.
-
Optionally, from the Categories drop-down menu, select the desired Event Category. Repeat this step as needed to assign the Event to multiple Categories.
-
Tags are used to help organize objects within the platform. Events can be searched by Tag from the Events screen. To reuse an existing Tag, begin typing all or part of the Tag name, and select it. You can also type in a new Tag value.
-
Optionally, click into the Stores field, and select a Store Tag for which this Event applies. Repeat this step as needed to add other Store Tags. Note that this field is available only if the Local Store Marketing feature is enabled in your account.
-
Optionally, toggle Optional to On to enable retailers to opt-in or opt-out of this Event. Note that this check box is available only if the Local Store Marketing feature is enabled in your account.
-
Click Save.
Additional Information
For additional information on how to configure the new Event, please see the following Help Center articles: